Central Locking Module Replacement
Instructions for replacing the Central Locking Module (CDL Module in Lotus-speak). These instructions are for a 05 Elise 111R, but it's probably very similar for other models. If you go to a dealer to get this done they do it the correct way by taking the whole dash apart and they charge 4 hours labour. I did this using the procedure below in 45 minutes without losing any blood.
The part number needed is A116M6048F. You can get this from a Lotus dealer - I paid £38.71 from Lispcomb.
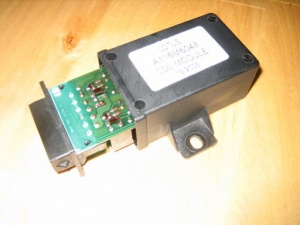
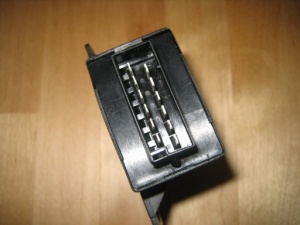
The module itself looks like this. You can see that the circuit board is held into the case by 4 tabs - one on each side. The existing case will be left in the car and just the circuit board replaced (these two pics are from monski - cheers).
The procedure is fairly simple but it's not very easy to do because of the limited access. You have to stick your hand in through the side window vent hole - my hand was a tight fit but once it was in there was enough space to work. If you've got bigger hands or wrists it would be a lot more difficult. Also, the edges of the bits of aluminium a pretty sharp so be careful.
Procedure
Remove light switch panel
Unscrew the 4 torx screws holding the panel in and move it to one side. You can disconnect the switches or just be careful not to pull the wires too hard.
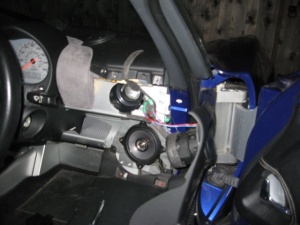
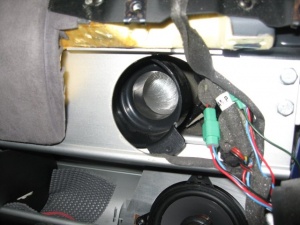
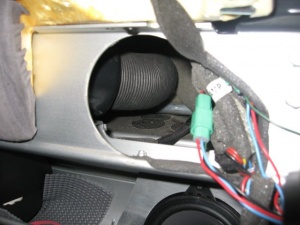
You'll then be faced with the hose that carries the air to the side window vent. This needs to be moved as the module is behind it.
Move vent hose
The vent hose needs to be moved to the left as you look at it. It's fixed by 2 plastic tabs - one at the top and one at the bottom - that fit into slots in the aluminium. It requires quite a bit of force to get it out - I managed to do it by twisting the whole end part clockwise and bending it slightly.
Once you've freed it push it out of the way to the left.
Remove module
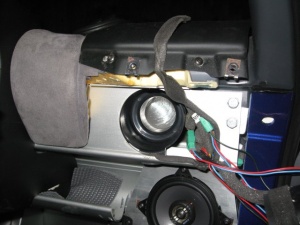
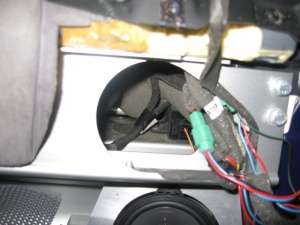
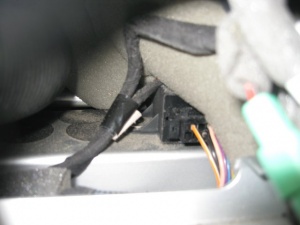
You can now see the module. It's on the right under the big bit of foam with the orange wire sticking out of it. You need to unplug the module, the connector seemed to come off quite easily with a bit of wiggling. To get the circuit board out of the case I just jammed a smallish screwdriver down the left side of the circuit board and levered it out bit by bit.
Once the board is out you can put the new one in. The bit of grey foam gets in the way here, I managed to use the CDL connector to hold the foam up out of the way so I could get the new board in. It's quite tricky as you can't see what you're doing so you have to do it by feel.
Test that the new module works as expected.
Put it all back together
Once it's in you just need to put everything back. The hose is a PITA to get back, but it just needs a bit of force to get it back in place. Then put the switch panel back in, carefully pushing all the wires back in to the gap where they came from. Before screwing it all back together be sure to check that the switches all still work as I managed to disconnect the headlight switch by accident.
Thanks to all those that replied on this thread and others for the information on how to do this.
