Installing an oil pressure/temperature gauge in S2
Installing a Oil Pressure and and Oil Temperature gauge in an S2
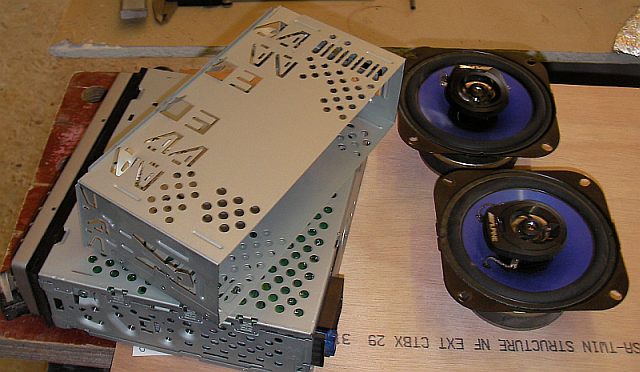
The new hardware
The gauges were bought from elise-shop.com because all my experiences there have been brilliant. Although I wanted a simple gauge I did decide to go for the new (end of 2007) gauges they had to offer there because they were 'cheap', had 270 degree displays (so you get a good reading) and have warning options in several ways. They are high tech, perhaps a bit too high tech with the lights, animations and sounds. But they work, look cool and seem reliable.
- Oil Temperature Gauge (comes with cables and sensor) http://www.elise-shop.com/index.php?main_page=product_info&products_id=634
- Oil Pressure Gauge (comes with cables and sensor) http://www.elise-shop.com/index.php?main_page=product_info&products_id=635
- Sensor Adapter Take off for k-Series engine http://www.elise-shop.com/index.php?main_page=product_info&cPath=10&products_id=389

Please note the sensors, the sensor cables and the Sensor Adapter Take off are not shown here. The image shows the gauge 'holders that allow the gauges to be mounted in different locations (on top of dash etc). Apart from some aluminum plate (not too thin) some new bolts and a bit of wire I used nothing else.
Preparation
- The work started by removing the radio and the front speakers (rear speakers will need to be removed later). This saved 2500 grams being replaced by 450 grams of new equipment. All the old weight was high in the car, the new weight (mainly the Sensor Adapter) is mostly low in the car. The radio was replaced as it was not never heard over the engine.
- Both the bottom plates were removed so all parts of the engine were accessible.
- Oil plug was removed, all oil drained and left 24 hours to drip (amazing how much keeps coming out), oil plug inserted.
- Oil Filter was removed at the same time and again left open for 24 hours (again amazed of the amount of oil that is comes out, after 20 hours thick black tar seems to drip out)
- Center Console was detached (not removed)

Installing the sensors
After cleaning the area around the oil filter the new oil filter was installed, with the adapter plate between engine and filter. The two sensors were screwed in without any sealing method (they have tapered screw) and have not leaked to this moment).

Laying cables
The cables that come with the sensors are obviously not intended for a mid engine car as they turned out to be too short. I had to cut them and solder in another 50 cm of cable. From the sensors the cables were fed through the same chassis hole that has the throttle cable.

Inside the passenger compartment the cables were fed through the center console and follows other cables into the dashboard. This was probably the hardest part. You need to be a contortionist to handle anything there. My wife managed to get the tie-raps on, amazing.

Installing the gauges
Power and lighting
The gauges use 12 volts/ground/acc power and lights on/off power. All these connections were taken from the radio connection cable. Using the acc and lights on/off cables it is possible to get different lighting styles (amber/white/none lighting for day, Amber/white for night). I decided for white day lighting and amber night lighting. Only one gauge needs to be connected as connection cable can chain link to other gauges.

Mounting Plate
As the gauges would need to installed in place of the radio a new aluminum plate had to be created. I decided to remove the two right hand screws that hold the heater panel in place and drill two new holes on the other side of the 'radio hole', no other modification of the dashboard was needed. This created 4 holes that are used to bolt the new panel in place. The mounting plate has room for three gauges (perhaps I'll install something else next year). The gauges are held in place with the brackets that were provided (slightly cut down in length) and some tape was used to prevent any possible rattling.

Results
The final results are exactly as I intended and the look is fully acceptable (the aluminum will weather to the same dull finish as the background). The gauges are well visible while driving and the warning settings that will flash the gauge in red and/or light the warning light and/or make a gauge beep are absolutely impossible to miss.
Testing, calibrating and setting of warning levels
To follow, including video of gauge in motion.